


- Hign-concerned Chemical: None
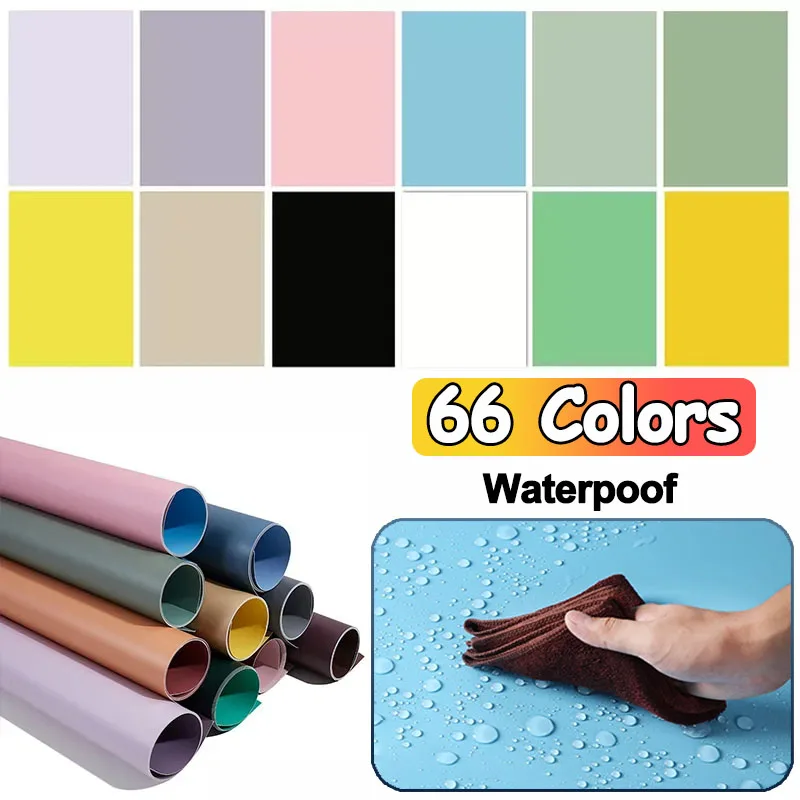
- Feature: Environment Friendly,Mildew Resistant,Formaldehyde-free
- is_customized: Yes
- Function: Mould-Proof,Fireproof,Moisture-Proof,Sound-Absorbing,Anti-static
- Model Number: BRG203788
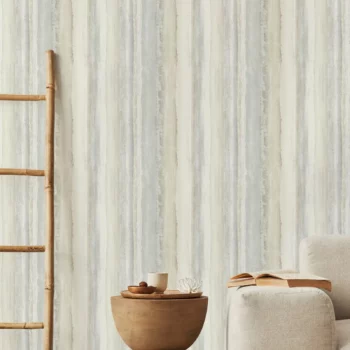
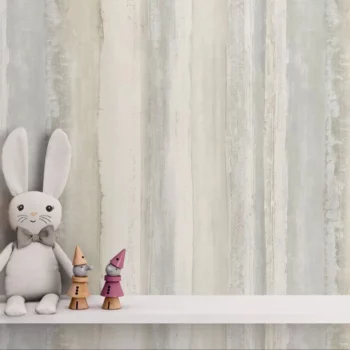
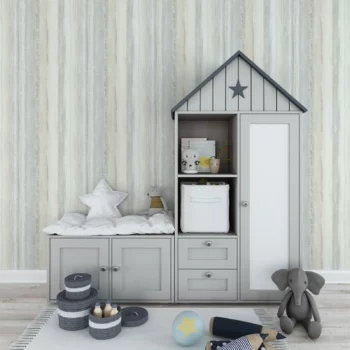
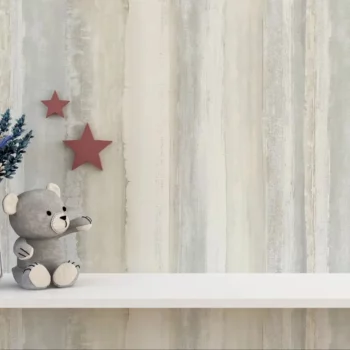
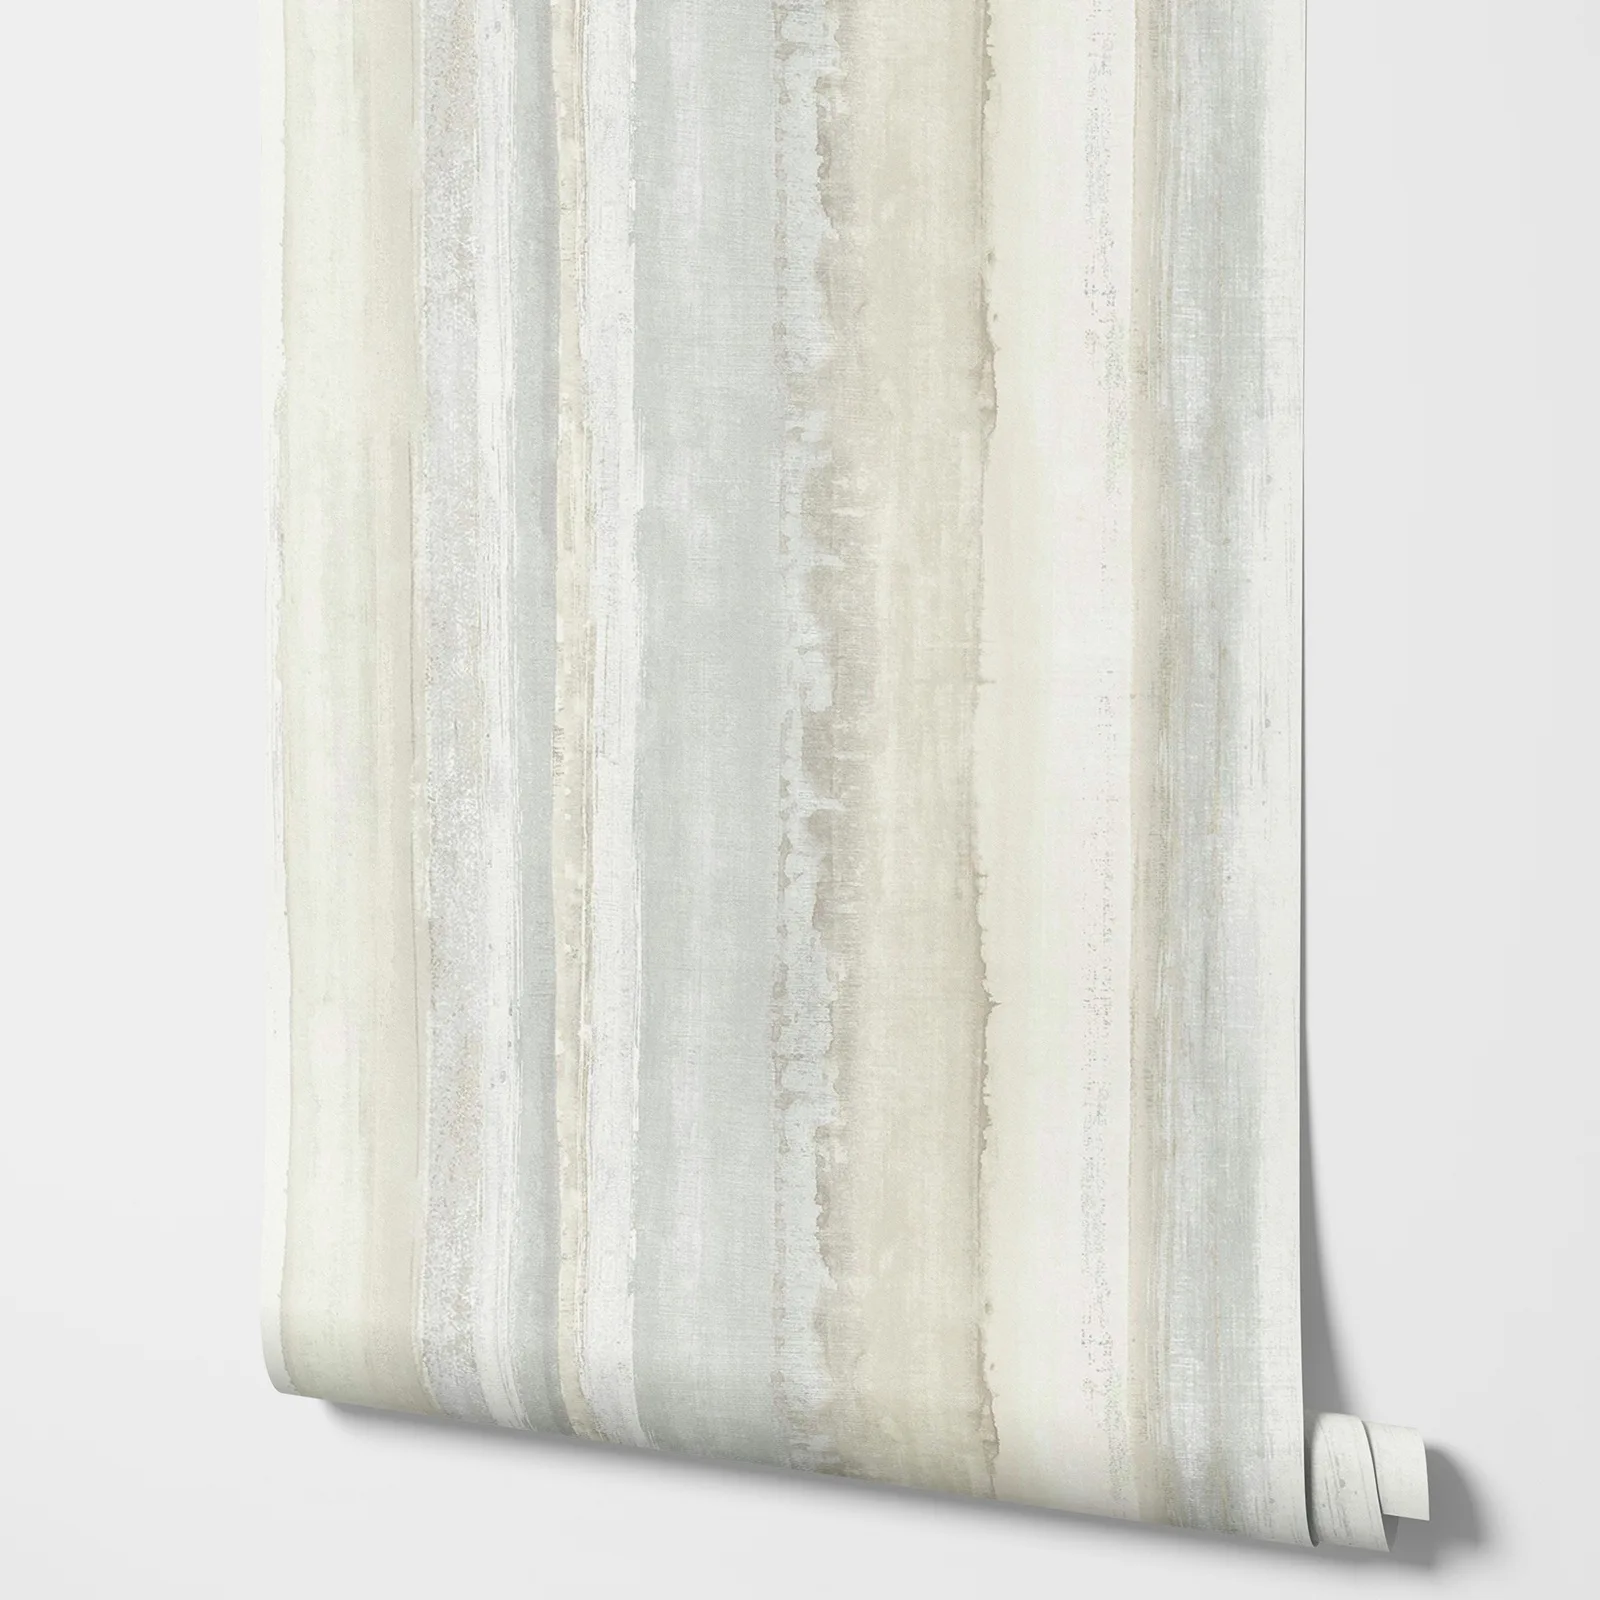
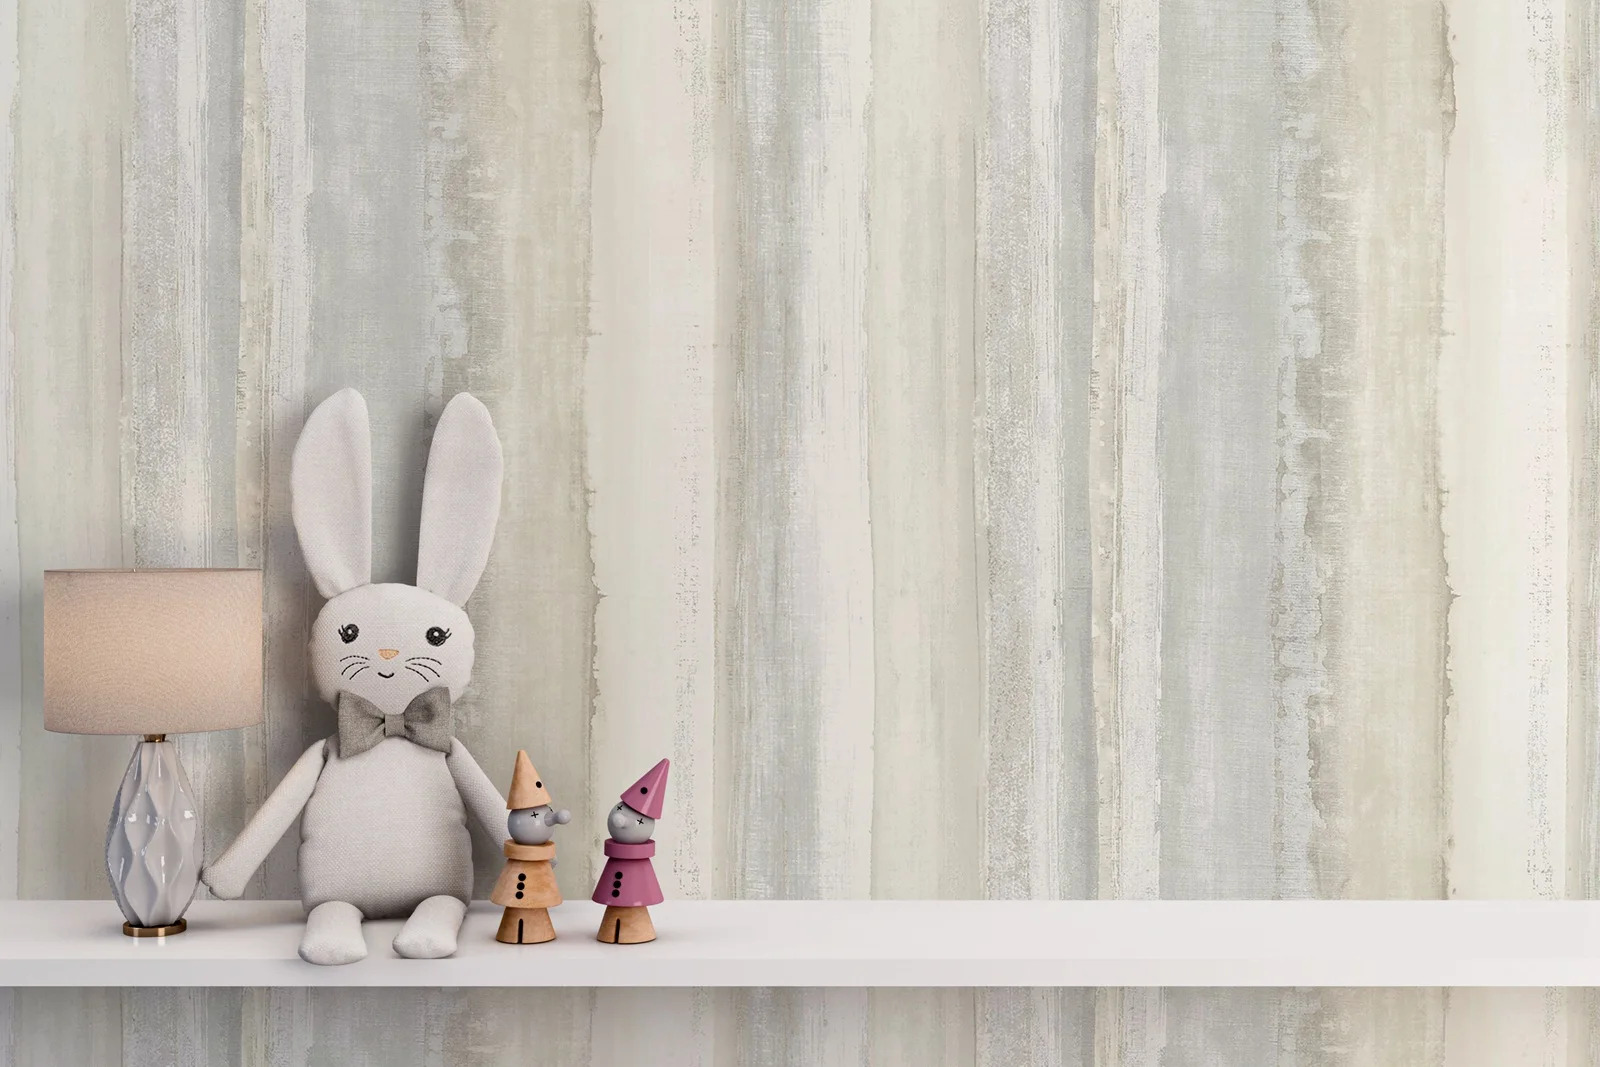
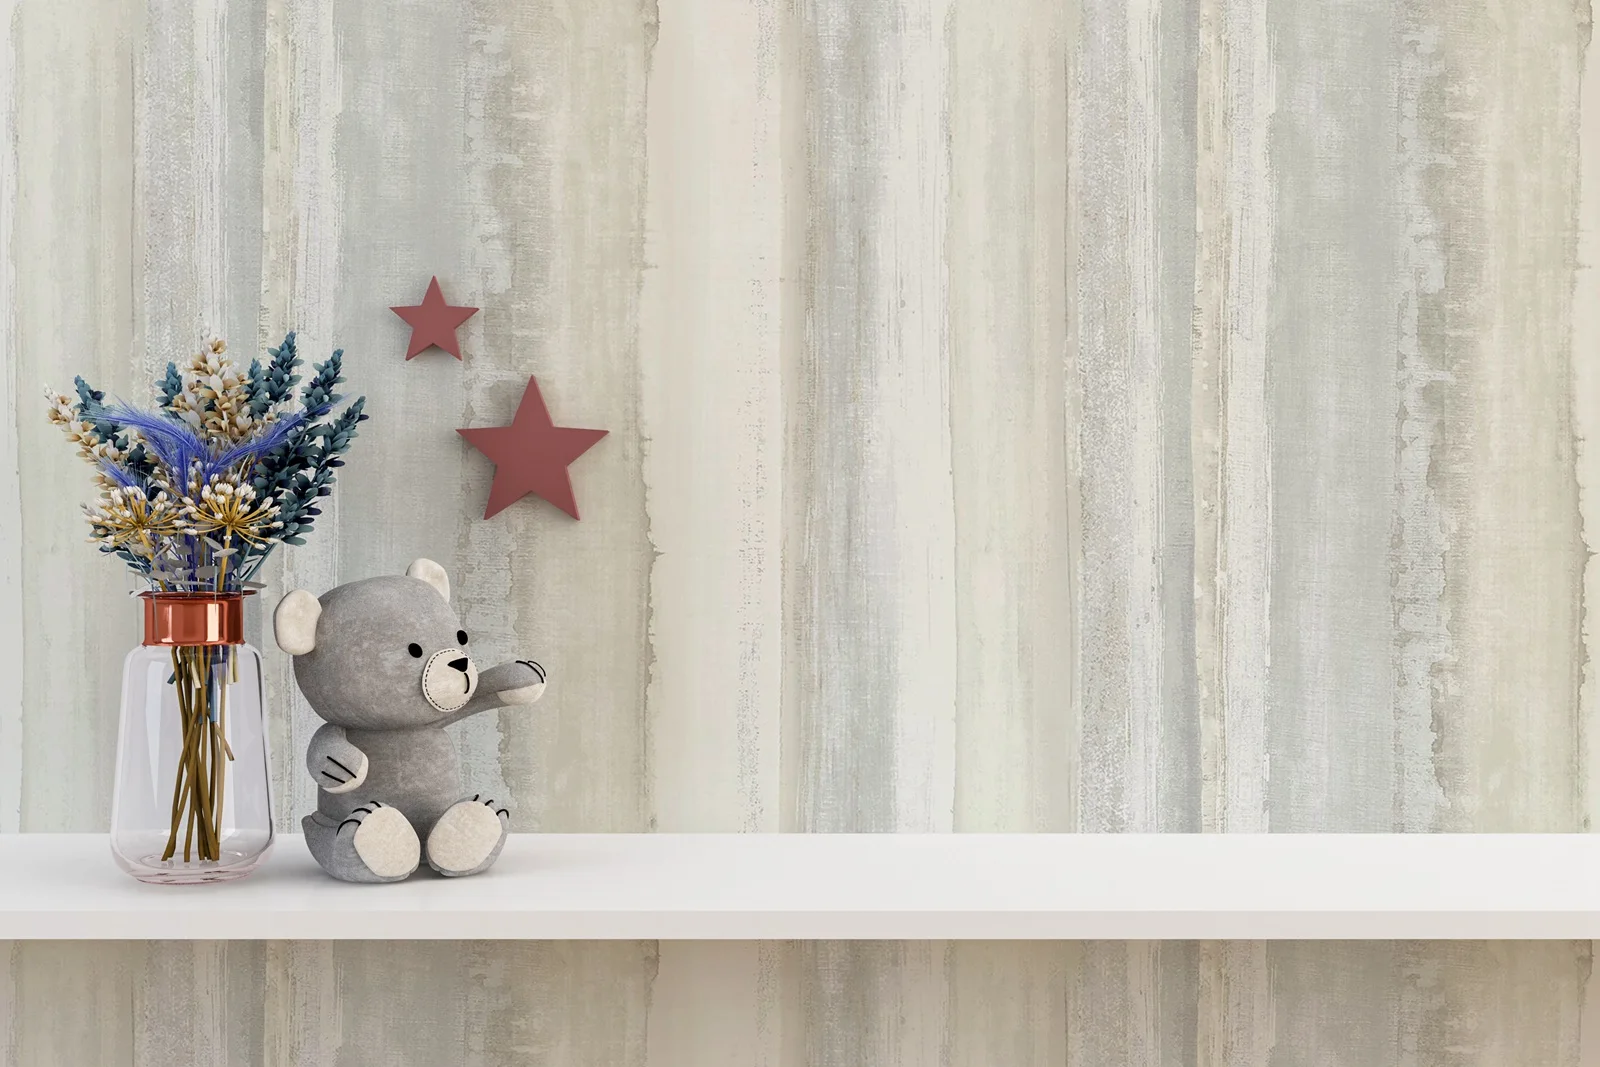
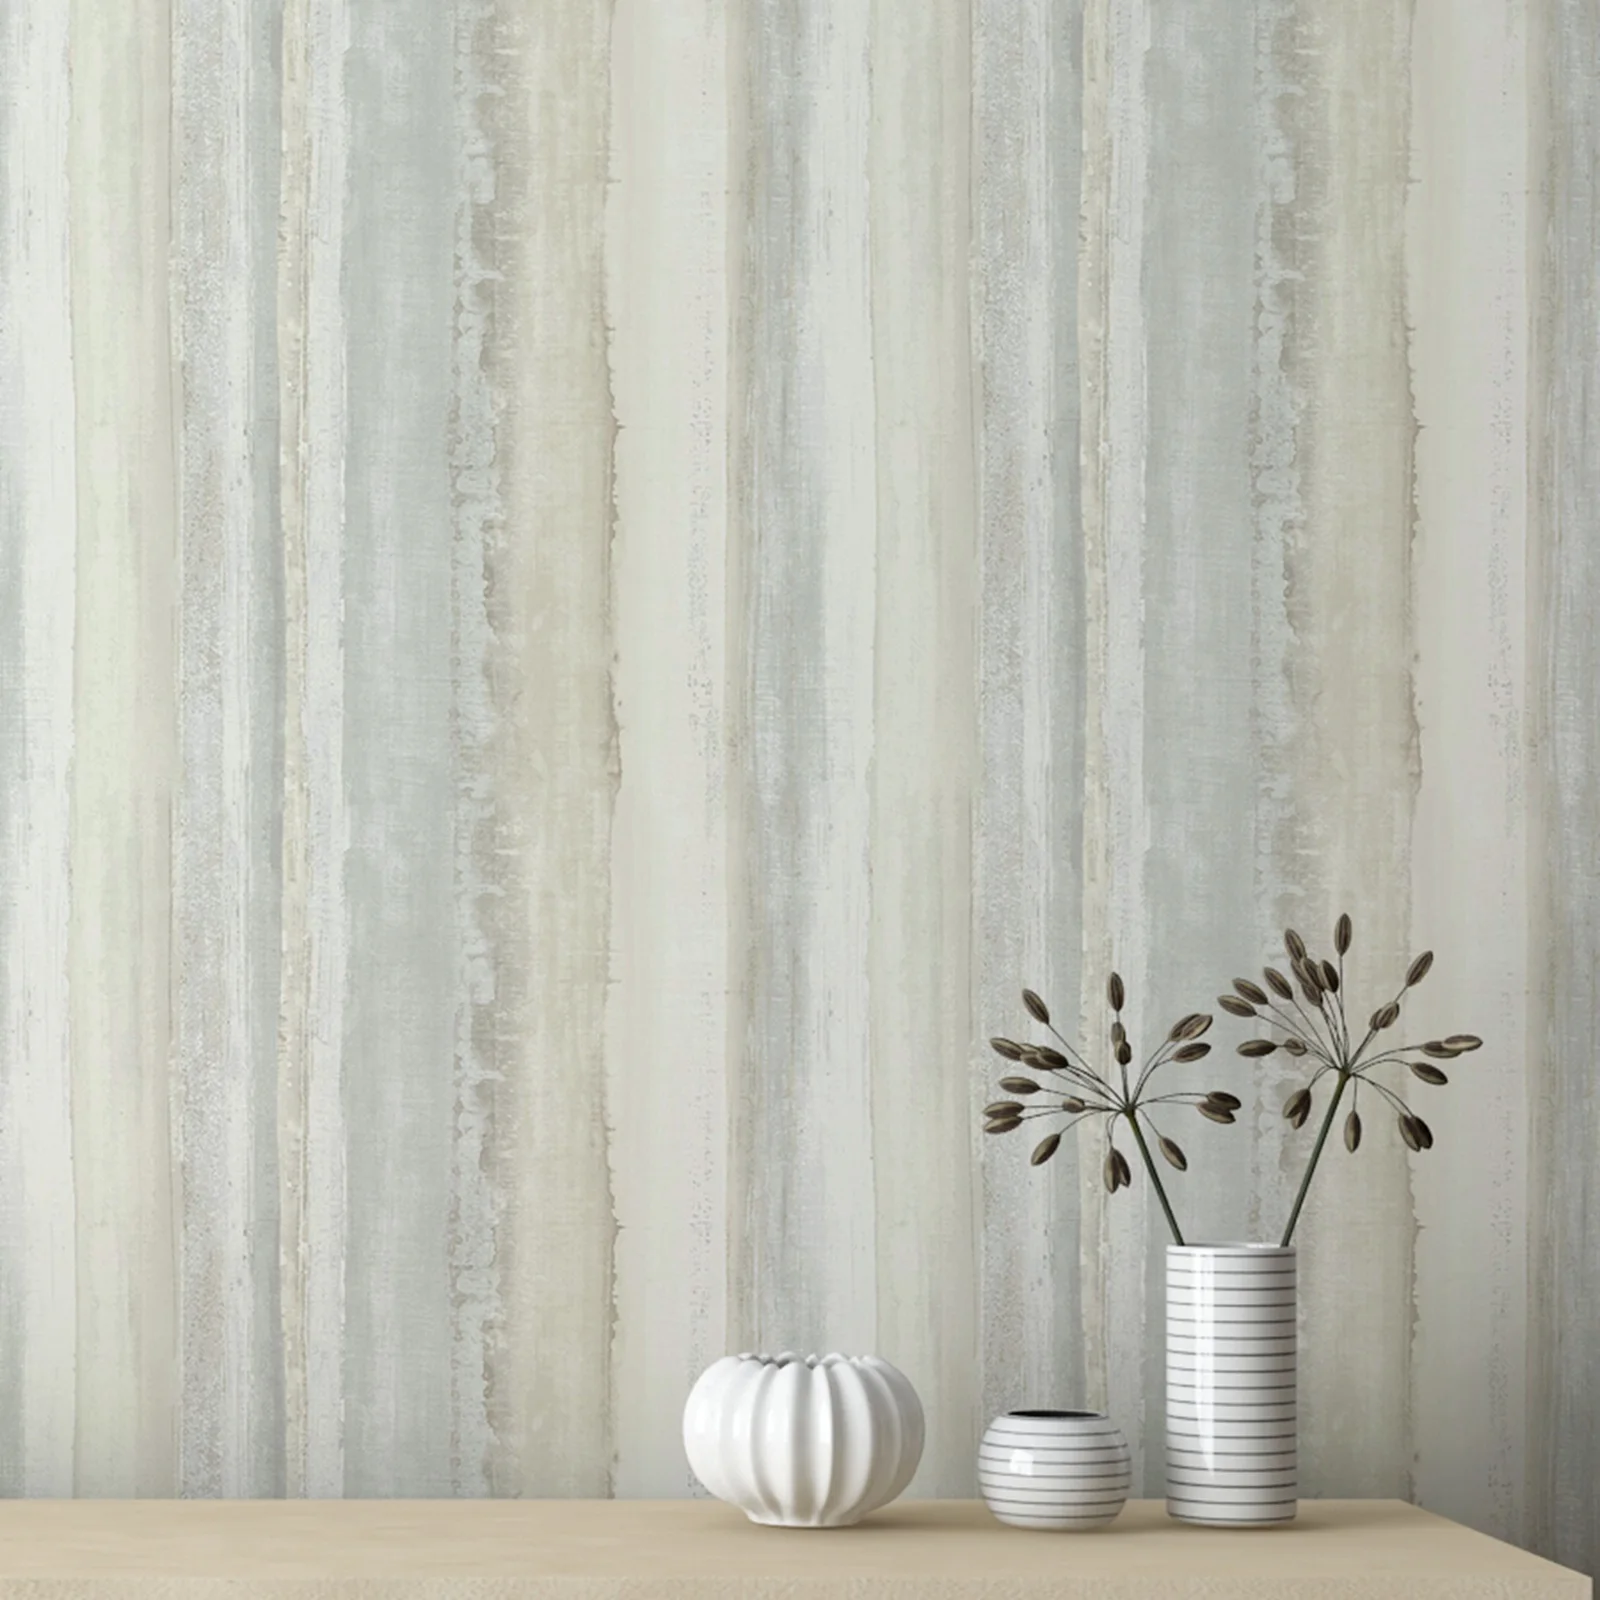
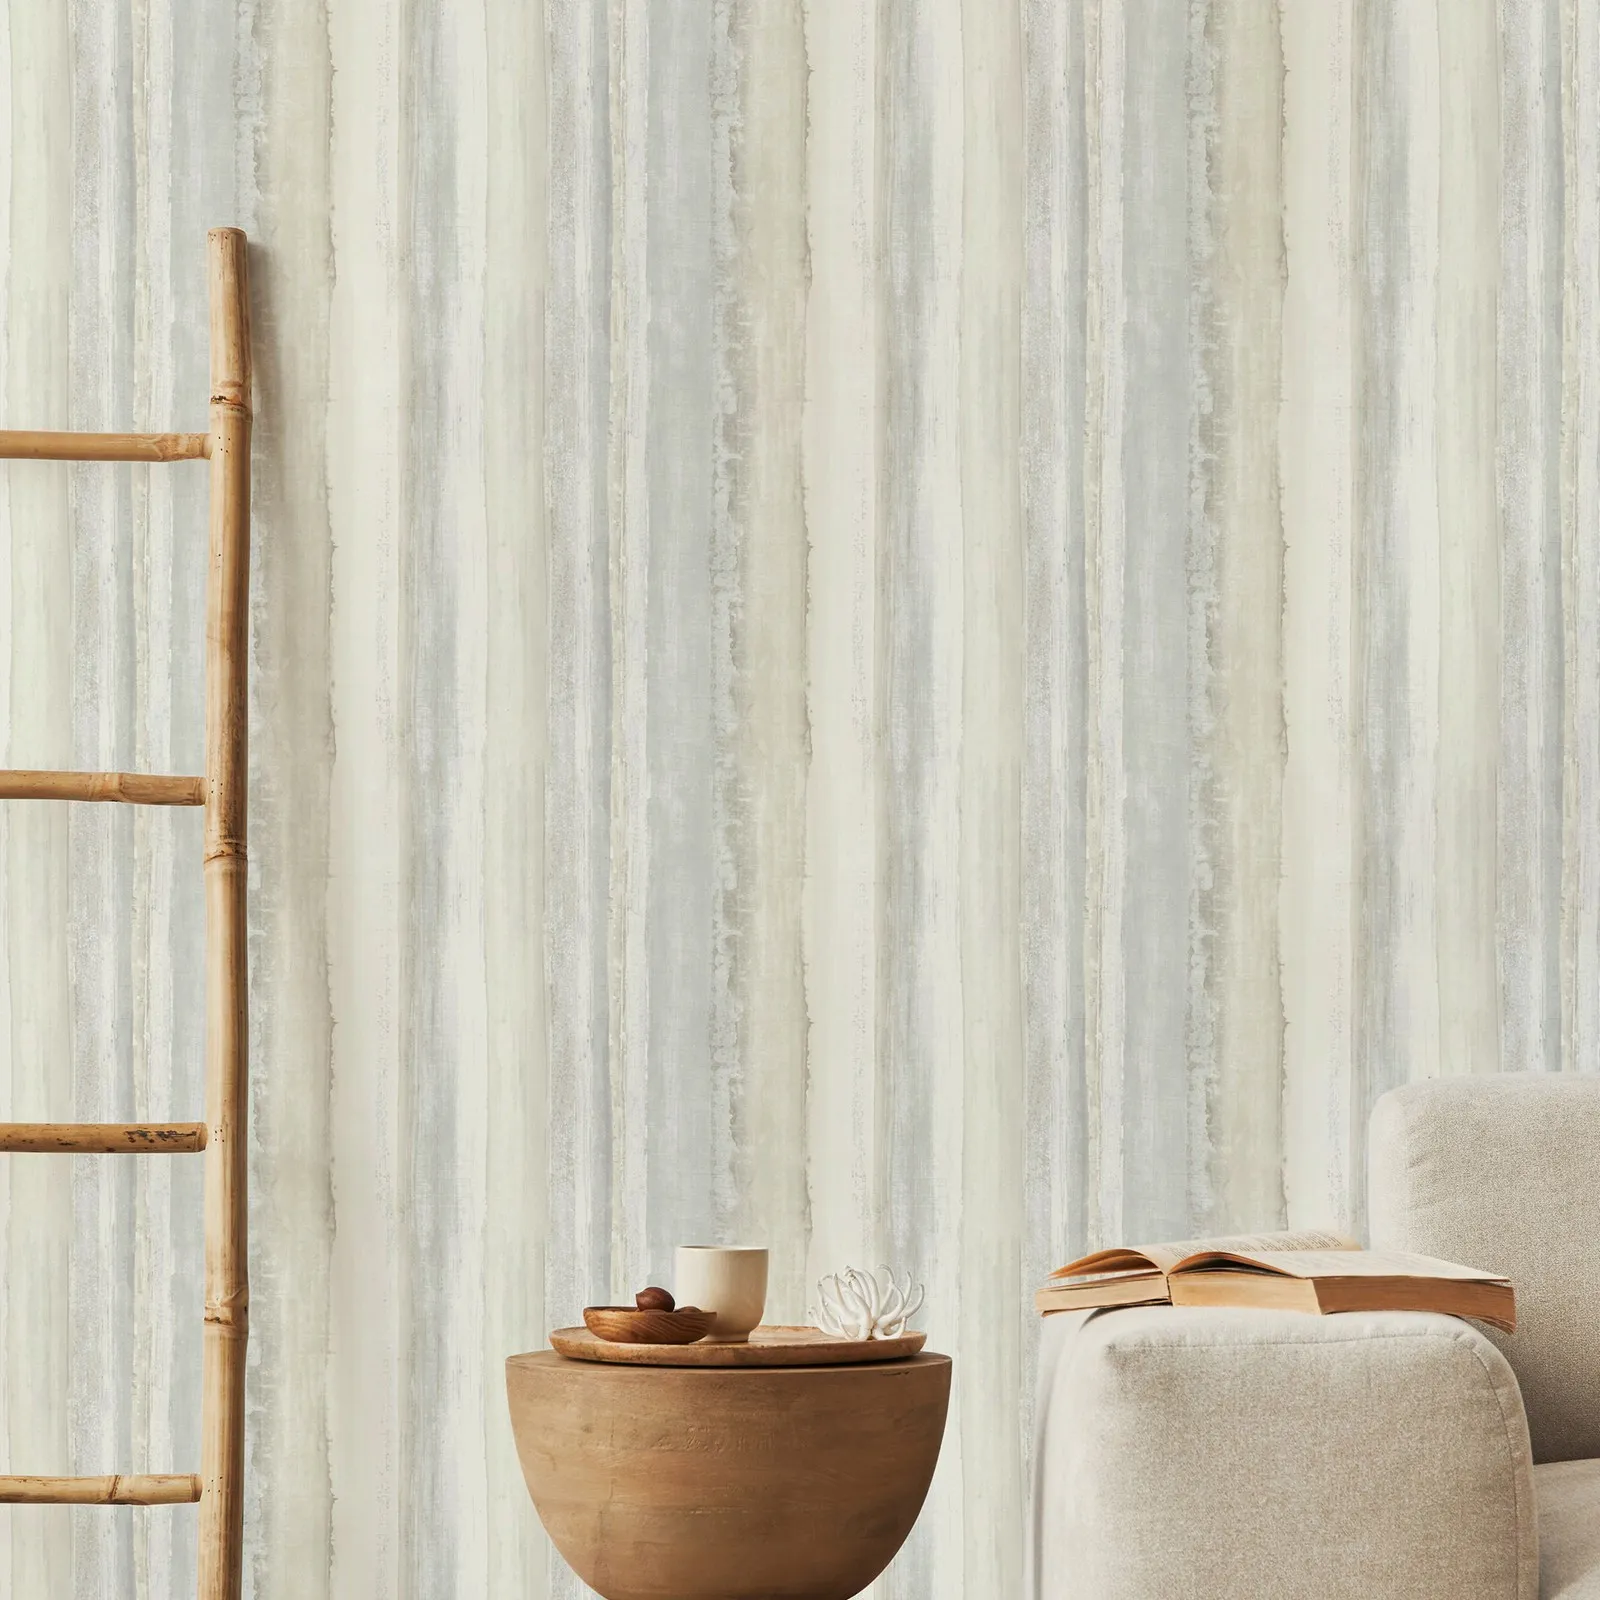
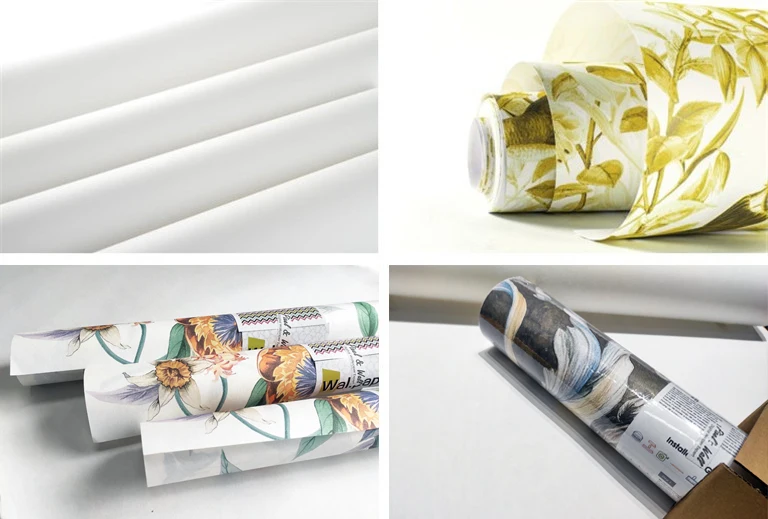
- Type: Paper Wallpapers
- Charge Unit: Usd/Roll
- Surface Treatment: Paper Wallpapers
- Brand Name: Pixel&Wall
- Material: Wood fiber wallpaper
- Origin: Mainland China
- Certification: None
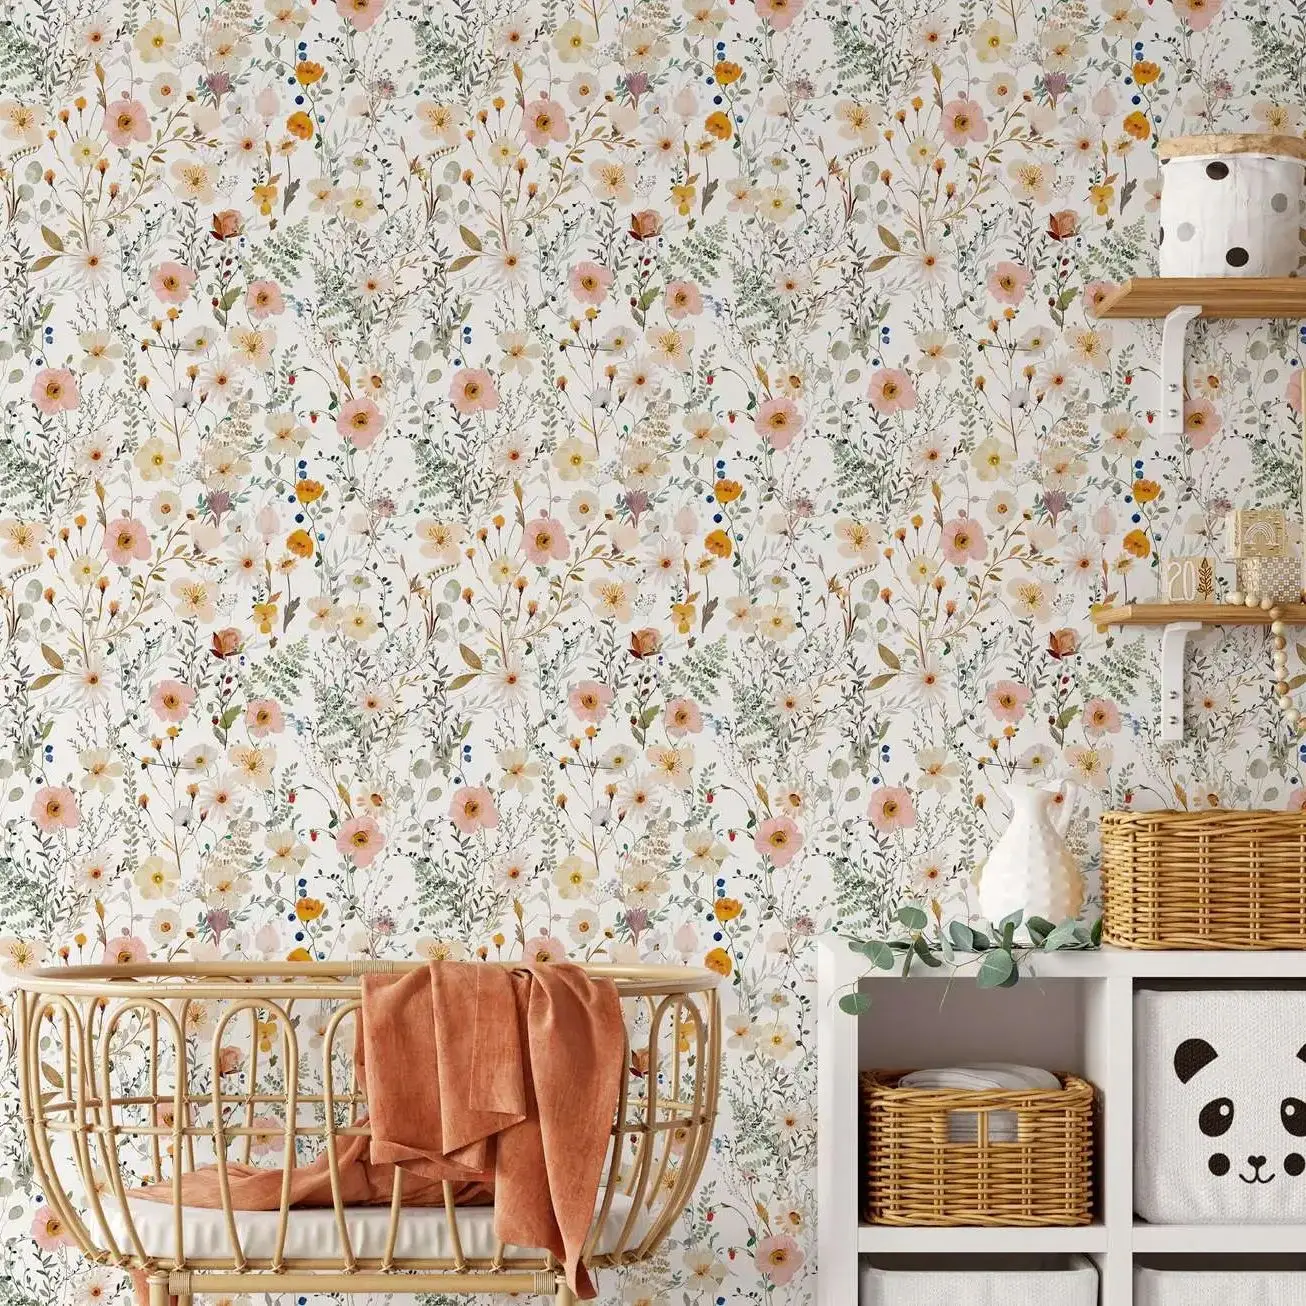
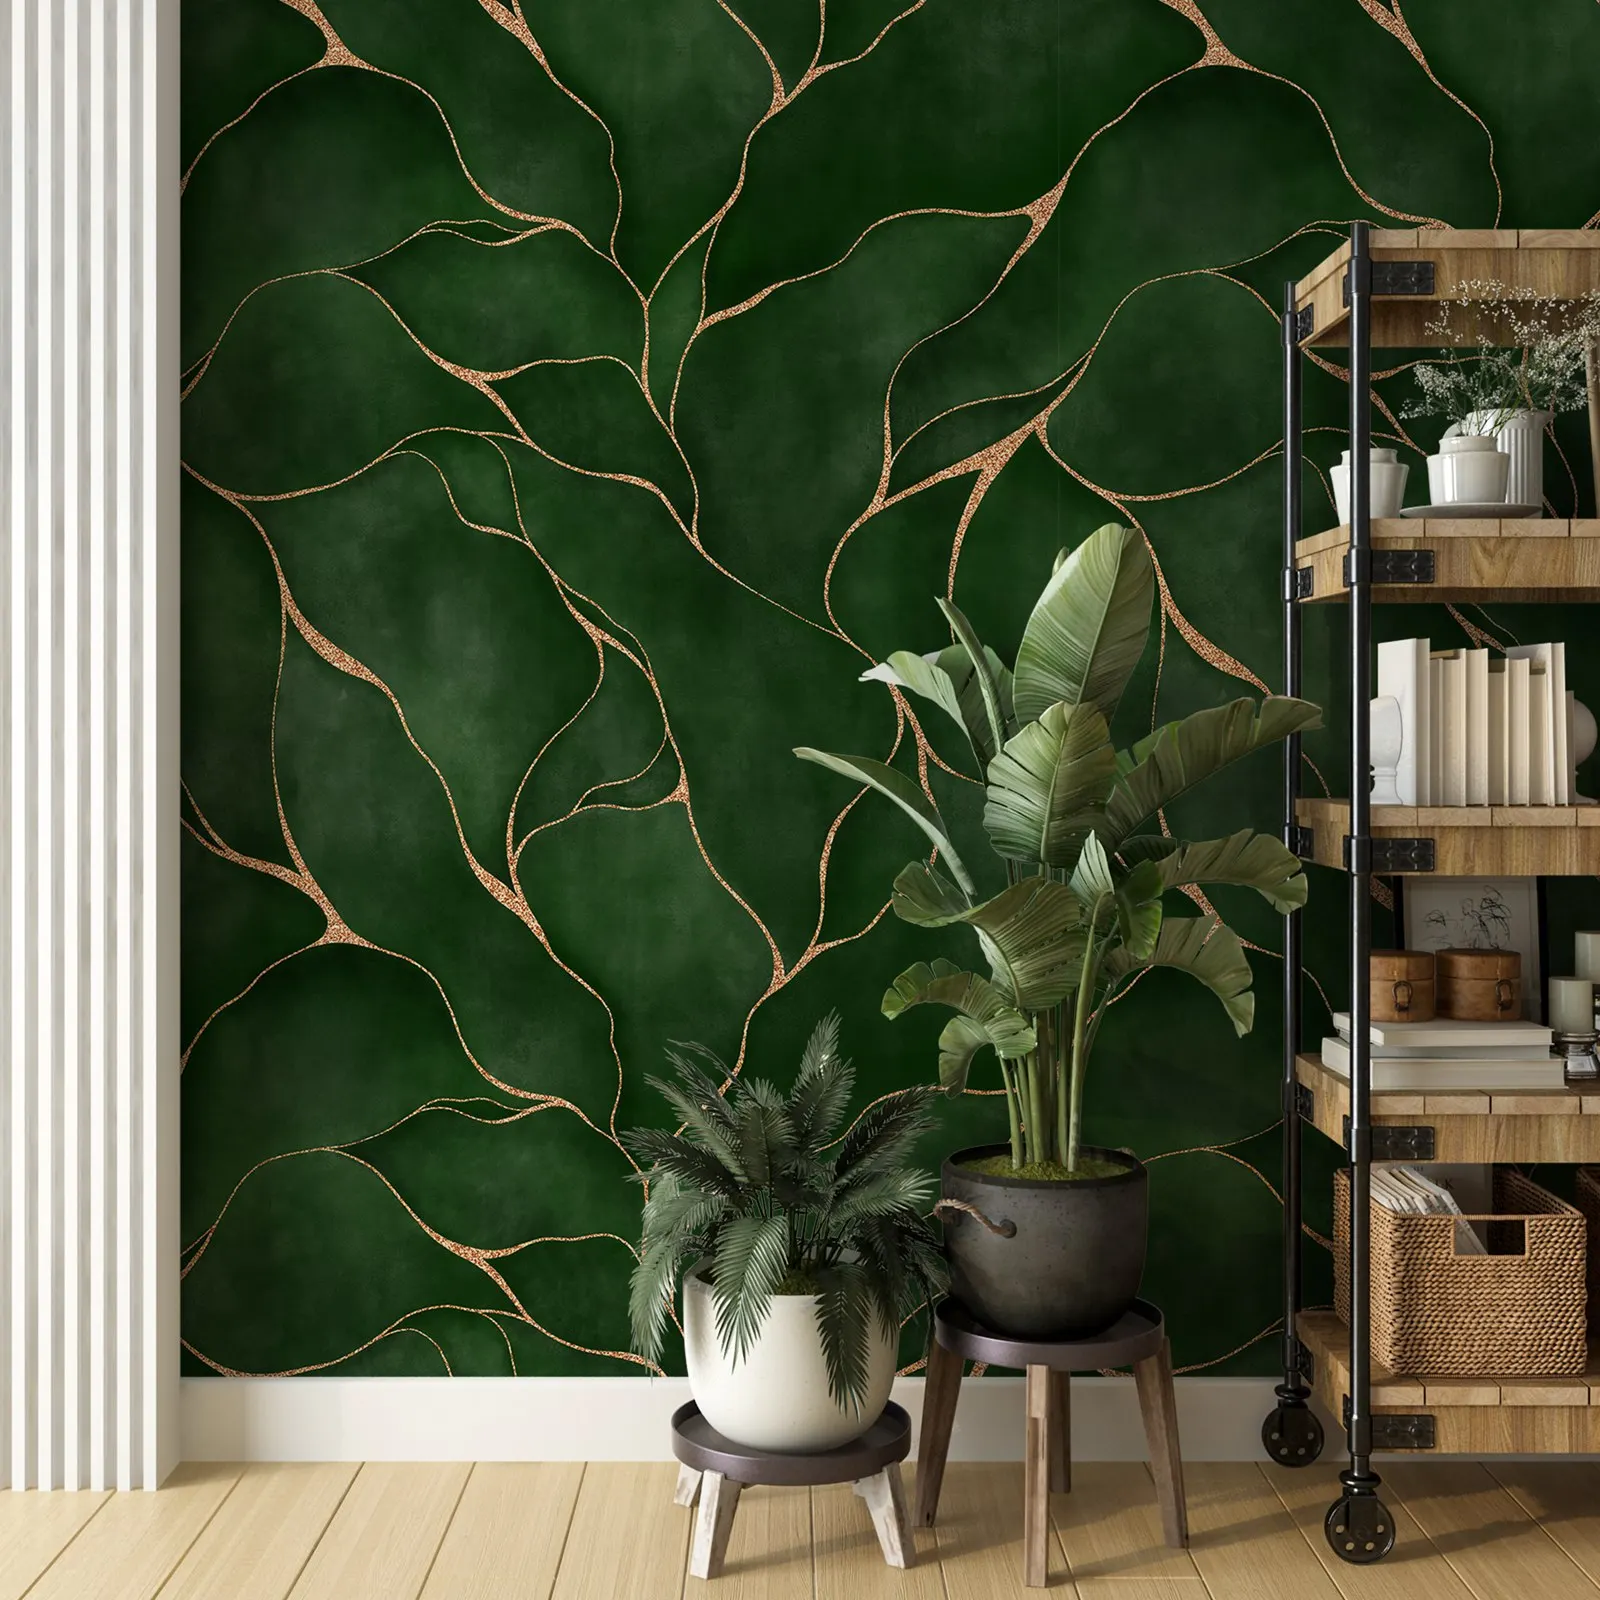
- Style: Modern Style
- CN: Jiangsu
- Pattern Type: Strip
- Use: Kitchen,Bedding Room,Wedding House,Elders’ Room,Kids’ Room,Study,LIVING ROOM,Administration,Commerce,entertainment,Household


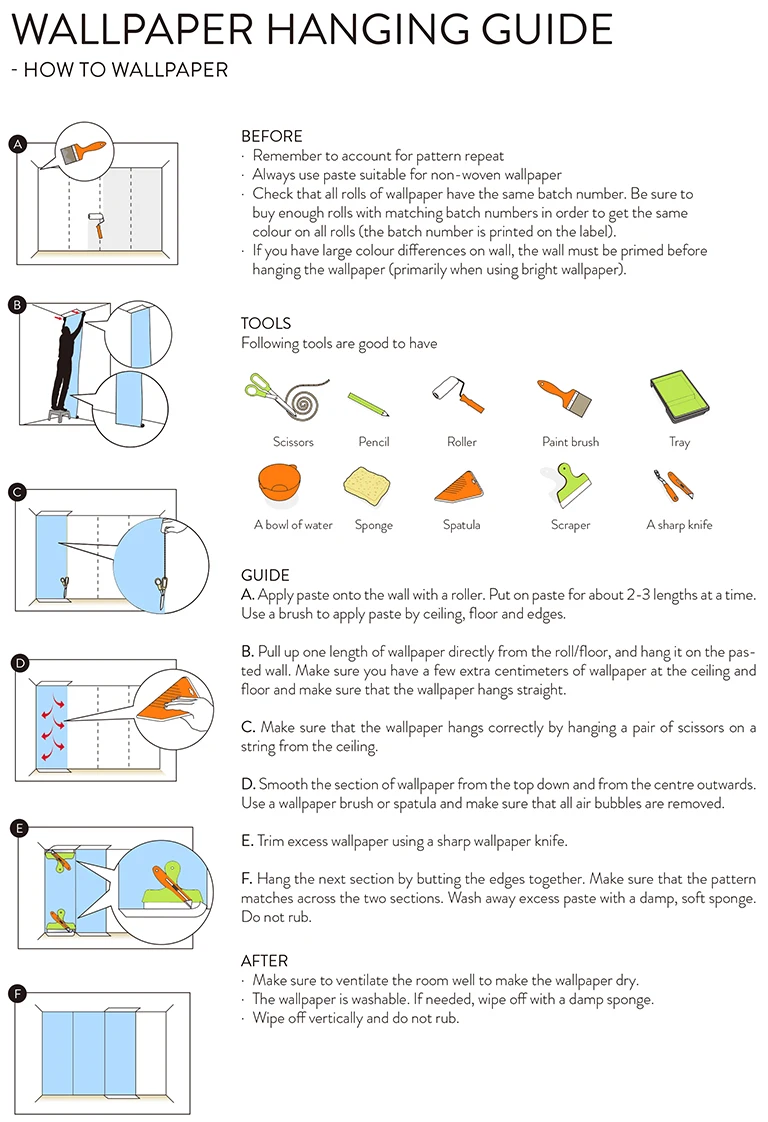
How to apply our wallpaper?
STEP 1: Prepare the wall surface
-
Your wall must be completely flat, clean and dry. Levels rough surfaces, rough, holes and uneven spots.
-
Your wall should be a uniform color. If not, you may notice differences in color on your wall once installed. If your wall has multiple colors, we recommend that you paint again.
-
Make a vertical line with a plumb line on the left edge of the area you want to cover with the mural. If you have a plumb, one can make your own by tying a heavy object on the end of a rope. This line is very important because it is the guide to start placing your mural.
STEP 2: Prepare the wallpaper
-
The wallpaper panels are made with a width of 50 cm(19.7″). Panels are received printed continuously on a roll and numbered at the top.
-
Cut independent panels and do a preview on the ground following the numerical order from left to right.
-
Measure with a meter the height of your wall. If it’s less than the photomural, you must cut it to fit properly. Do it while you have it on the floor but leave a margin of an inch to correct any differences in level on the wall.
STEP 3: Prepare the glue
-
You may buy the glue from your supermarket, confirm it’s for non-woven wallpaper use.
-
Prepare the glue following the instructions on the bag of the glue you bought. Do it slowly. So you will obtain a uniform mixture and without bubbles.
STEP 4: Attach the paper to the wall
-
Applying glue on the wall evenly using a brush or a paint roller. Start distributing from the line you marked as a guide to the plummet. Don’t paste the entire wall, do it only in the area that will cover the first panel on the left, leaving a few inches outside the right.
-
Apply the first panel of the mural on the wall starting at the top left. Check that is aligned with the guide.
-
Presses against the paper with a dry roller or sponge to remove any air bubbles.
-
Place the following panels in the same way in numerical order. The panels must not be mounted on each other but are set on edge.
-
Clean the excess glue with a damp sponge.
STEP 5: Finishing
-
With the help of a ruler and a cutter, adjust the sides and the top and bottom of the wall if necessary.
-
Let dry 24 hours; you will get a perfect final result
Real customer reviews